Don't have a serger- no problem!
Today I'm going to show you how to finish your seams WITHOUT a serger! Yay! These methods work great for woven fabrics. They could be used for knit fabrics as well ,but since knit does not fray there is no need to finish the raw edges. ;)
Here are 2 ways to do this:
French seams- sewing machine and fabric
Zig-zag finish- sewing machine with a zig zag function and fabric
First, I'll show you the one you are all probably most interested in- French seams!
Take 2 scraps of fabric( size depends on personal preference but since this is just a sample two 5"x 5" pieces of fabric work just fine) and place them WRONG sides together.


Stitch down one side using a 3/8" seam allowance. Open the fabric piece.

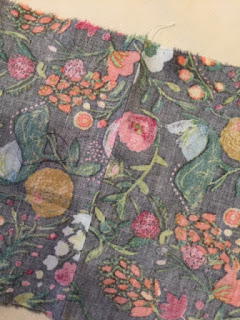


Next, you are going to trim the seam allowance. You want to cut as close to your stitching as you can but not through your stitches!

Then, take the fabric, open it up and place it RIGHT sides together. Iron the edge with the seam flat.
You will stitch the fabric together again using a 3/8" seam allowance along the same edge you already stitched. This can be a little confusing the first time but you will get the hang of it. :)
You will stitch the fabric together again using a 3/8" seam allowance along the same edge you already stitched. This can be a little confusing the first time but you will get the hang of it. :)
Look at the seam on the right side of the fabric to make sure no raw edges are showing. If not, then you have just made your first french seam!


Zig Zag method:
This next method if a little less confusing and takes less time in my opinion.
Take two 5"x 5" pieces of fabric and place them RIGHT sides together. Stitch using a 3/8" seam allowance down one side of the squares.

Change the settings on your machine to have a zig zag. The width and length of the stitch are up to personal preference. For me, I use a 2.5 width and 2/2.5 ish length.
Stitch down the same side of the fabric so that the zig zag wraps around the raw edges of the material.


Now you know not one, but TWO great ways to finish your seams!


